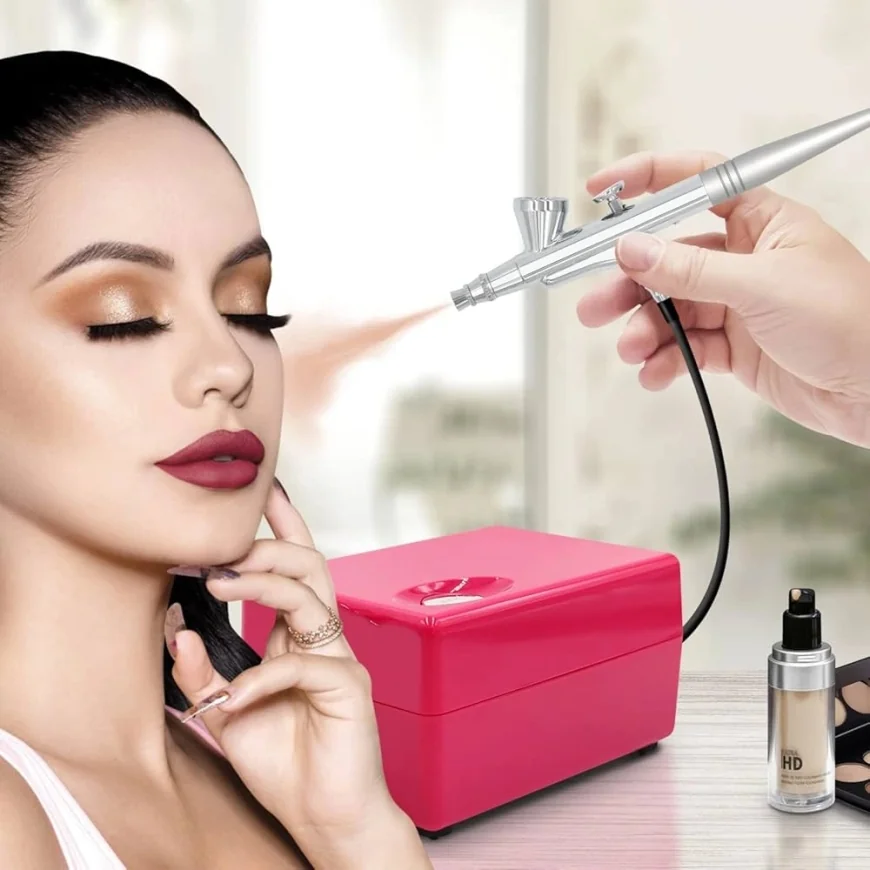
How to Apply Setting Powder for an Airbrushed & Long-Lasting Makeup Look
Learn how to apply setting powder for oily and dry skin to achieve a smooth, airbrushed finish. Discover benefits, step-by-step tips, and the best powders for long-lasting makeup.

Every makeup lover knows that achieving a flawless base isn’t just about the products you use—it’s also about how you use them. One secret weapon that instantly upgrades your look is setting powder. This essential product helps lock in foundation, reduce shine, and create a smooth, airbrushed finish that lasts all day.
In this guide, we’ll break down how to use setting powder correctly, choose the best type for your skin, and explore its benefits for achieving picture-perfect makeup.
The Role of Setting Powder in Makeup
Setting powder is the finishing step in your base routine. Applied after foundation and concealer, it helps makeup stay in place, prevents creasing, and gives your skin a velvety-soft texture.
For instance, the Compact Powder 3-in-1 is a versatile choice—it works as a compact, foundation, and setting powder. It offers a smooth matte finish, can be applied dry or with a damp sponge for more coverage, and is perfect for touch-ups on the go.
Picking the Right Setting Powder for Your Skin
Your skin type determines the type of powder you need:
-
Oily Skin → Go for a mattifying powder to absorb excess oil and control shine.
-
Dry Skin → Use a translucent or hydrating powder that won’t emphasize dryness.
Step-by-Step: Using Setting Powder for Oily Skin
1. Prep the Face – Cleanse and moisturize properly. Hydrated skin helps makeup apply smoothly.
2. Apply Foundation – Blend evenly across your face.
3. Conceal Imperfections – Use concealer on under-eyes, blemishes, or redness.
4. Lock with Powder – Use a brush or sponge to gently press matte powder into the T-zone (forehead, nose, chin) where oil builds up most.
5. Optional: Bake Your Makeup – Apply extra powder under the eyes and areas with concealer. Leave it for 5–10 minutes, then sweep away for crease-free perfection.
Step-by-Step: Using Setting Powder for Dry Skin
1. Hydrate First – Apply a moisturizing primer or nourishing cream.
2. Foundation Application – Smooth on your base for even coverage.
3. Add Concealer – Blend seamlessly into targeted areas.
4. Dust Lightly – Use a fluffy brush to apply a minimal amount of translucent powder only on areas prone to creasing (like under-eyes or smile lines). This avoids dryness while still setting your look.
Benefits of Setting Powder
✔️ Longer Wear – Keeps foundation and concealer in place.
✔️ Oil Control – Reduces shine for oily skin.
✔️ Smooth Finish – Minimizes pores and fine lines.
✔️ No Transfer – Prevents makeup from rubbing off.
✔️ Custom Finish – Choose matte for a polished look or luminous for a radiant glow.
Golden Rule: Apply After Foundation
Always remember—setting powder comes after foundation and concealer. Applying it beforehand won’t give you the desired result and can make your base look patchy.
✨ Final Word
Setting powder is more than just a finishing touch—it’s the key to achieving professional-looking makeup that lasts all day. Whether your skin is oily or dry, choosing the right formula and applying it correctly can transform your entire look.
If you want that airbrushed, photo-ready finish, make sure to add a good-quality setting powder to your makeup kit today.


