How to Apply Makeup Step-by-Step A Beginner's Guide to Flawless Beauty
Learn how to apply makeup like a pro with this beginner-friendly, step-by-step guide. Discover the correct order of makeup, pro tips, and expert-approved techniques to achieve a flawless look every time
Makeup isn’t just about appearances—it’s a powerful form of self-expression that enhances features, builds confidence, and celebrates individuality. Whether you’re getting ready for a casual coffee date or a glamorous evening out, applying makeup correctly can transform your look and boost your self-esteem.
Mastering the right techniques and applying products in the proper order helps ensure your makeup stays fresh, blends beautifully, and highlights your best features all day long.
Ready to glow? Here’s your complete, beginner-friendly guide to applying makeup like a pro—from the first swipe of moisturizer to the final mist of setting spray.
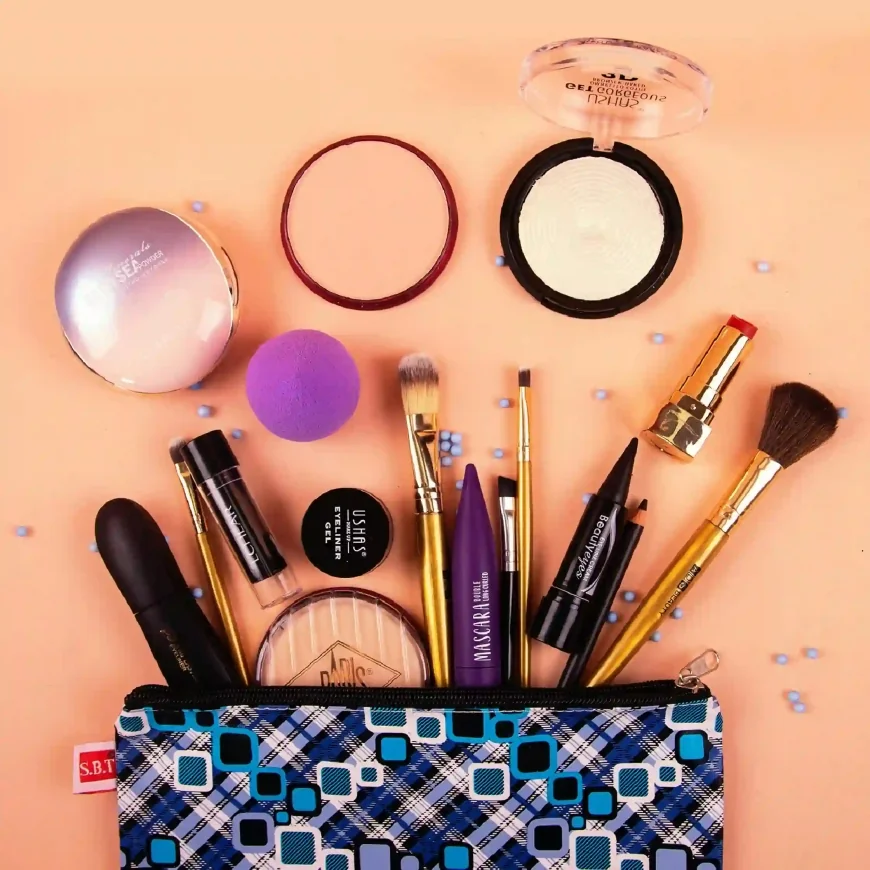
Makeup Steps in Order for a Flawless Look:
-
Step 1: Moisturizer – Hydrate Your Skin
-
Step 2: Primer – Smooth and Prep
-
Step 3: Liquid Foundation – Create a Seamless Base
-
Step 4: Concealer – Brighten and Correct
-
Step 5: Foundation Powder – Set and Mattify
-
Step 6: Bronzer – Add Warmth and Contour
-
Step 7: Blush – Bring a Natural Flush
-
Step 8: Highlighter – Glow Strategically
-
Step 9: Eyeshadow – Define and Add Depth
-
Step 10: Eyeliner – Frame the Eyes
-
Step 11: Mascara – Lengthen and Lift Lashes
-
Step 12: Lip Gloss – Shine and Color
-
Step 13: Setting Spray or Powder – Lock the Look
Step 1: Moisturizer – Hydrate Your Skin
Start by applying a moisturizer tailored to your skin type. This helps to create a smooth base for makeup. Choose from:
-
Facial Mists – Refresh and maintain glow
-
Serums – Lightweight with targeted benefits
-
Lotions – Versatile and commonly used
-
Creams – Thicker formula for dry skin
-
Oils – Ideal for very dry or sensitive skin (avoid if acne-prone)
Application Tip: Use your fingertips to massage the moisturizer into your skin using upward, circular motions. Let it absorb fully before the next step.
Step 2: Primer – Your Base for a Flawless Finish
Primer helps to smooth texture, reduce the appearance of pores, and make your makeup last longer. Apply a pea-sized amount starting from the center of the face, blending outward.
Choose a primer that suits your needs:
-
Mattifying Primer for oily skin
-
Brightening Primer for dull complexions
-
Calming Primer for redness-prone skin
-
Bronzing Primer for a sun-kissed glow
Step 3: Liquid Foundation – Even Out Your Complexion
Select a shade that closely matches your skin tone. Apply using clean fingers, a sponge, or a brush—start from the center of the face and blend outward for a seamless effect.
Foundation Tips:
-
Use a damp beauty sponge for natural coverage
-
Buff with a brush for an airbrushed finish
-
Avoid visible lines by blending into the jaw and hairline
Step 4: Concealer – Target Problem Areas
Use a creamy concealer to brighten under the eyes, hide blemishes, and even out pigmentation.
Shade Guide:
-
A shade lighter than your foundation: for highlighting
-
A matching shade: for covering blemishes
Where to Apply:
-
Under eyes in a triangle shape
-
Around the nose and mouth
-
On any blemishes or redness
Step 5: Setting Powder – Lock It In
Use a translucent or matching powder to set your foundation and concealer. Apply lightly with a fluffy brush, concentrating on the T-zone (forehead, nose, chin).
Pro Tip: Press powder into the skin rather than swiping for longer wear.
Step 6: Bronzer – Add Warmth and Dimension
Choose a bronzer just 1-2 shades darker than your skin tone. Apply in a “3” shape: across the forehead, beneath cheekbones, and along the jawline.
Tip: Don’t forget to blend into your neck!
Step 7: Blush – Bring a Natural Flush
Pick a blush that complements your skin tone:
-
Pink: Fair skin
-
Peach: Medium tones
-
Berry or Plum: Deep complexions
Apply to the apples of your cheeks and blend upward toward your temples.
Step 8: Highlighter – Illuminate Key Features
Use liquid or powder highlighter to enhance:
-
Top of cheekbones
-
Bridge of the nose
-
Brow bones
-
Inner corners of the eyes
-
Cupid’s bow (above your upper lip)
Blend gently for a natural glow or layer for a blinding highlight.
Step 9: Eyeshadow – Add Color and Depth
Pick a palette with at least three shades:
-
Base shade: all over the lid
-
Medium shade: in the crease
-
Dark shade: outer corner for depth
Blend well to avoid harsh lines.
Step 10: Eyeliner – Define Your Eyes
Use a pencil, gel, or liquid eyeliner depending on your preference. For a natural look, tightline the upper lash line. For drama, create a cat-eye or bold wing.
Step 11: Mascara – Open Up Your Eyes
Curl your lashes first. Then apply 1–2 coats of volumizing or lengthening mascara from the base of the lashes to the tips.
Optional: Apply a second coat to bottom lashes for definition.
Step 12: Lips – Color & Shine
Choose between lipstick, lip gloss, or lip balm depending on your mood. Outline with a lip liner for precision.
Pro Tip: Blot between layers for long-lasting wear.
Step 13: Setting Spray or Setting Powder
Lock in your look with a setting spray for dewy finish or powder for a matte effect. Hold spray 8–10 inches from your face and mist in an “X” and “T” pattern.
Final Thoughts:
Makeup is a personal journey. These steps offer a reliable framework for beginners and a great refresh for seasoned enthusiasts. Experiment, adjust to your skin type and preference, and most importantly—have fun with your routine!
Glow with confidence every day!